A. Used Symbols
Jump to:
| Type | Icon/Character | Description |
| NOTE
CAUTION
WARNING | NOTE: Information that is useful but not critical to the reader.
CAUTION: Tells the reader to proceed with caution.
WARNING: Stronger than CAUTION; means "don't do this" or that this step could be irreversible, e.g., result in permanent data loss. | |
| TIP |
| Useful tips that provide additional information. |
| Procedure | 1. 2. 3. | Procedures are numbered steps to perform an action, where the order of the steps is relevant. |
| Result of procedure/action | ⇒ | Indicates the result of an action//procedure. |
| Lists | • • | Used for listings and items where the order of steps is irrelevant. |
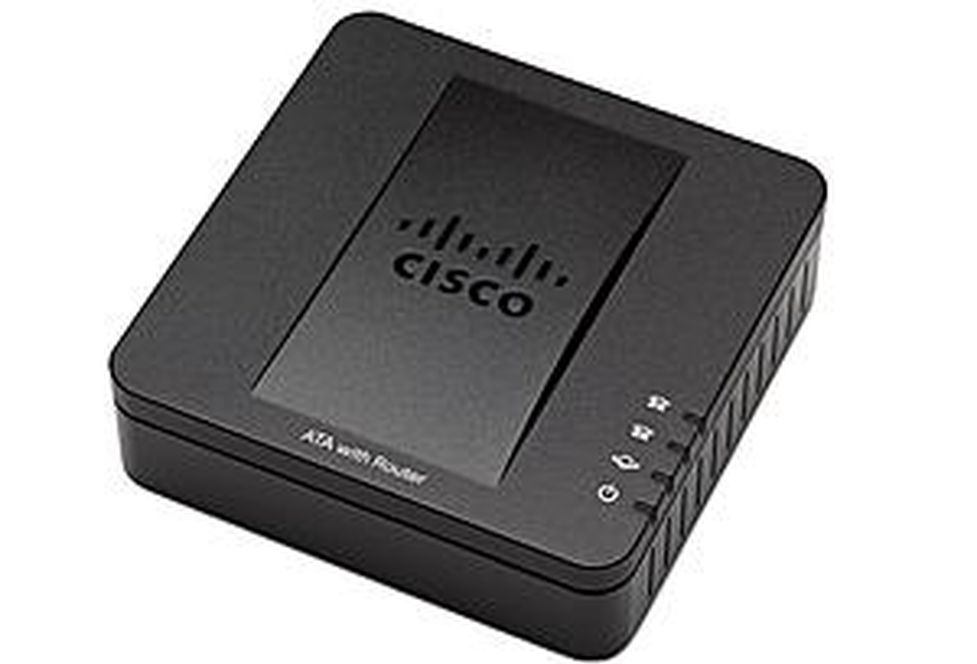
The Cisco SPA112 connects analogue devices with IP-based data networks.
A POTS (Plain Old Telephone Service Port) on the SPA112 is used to connect an existing analogue device. You provide the connection from your network (LAN) at the office to the telephone system via a 100BaseT RJ-45 Ethernet interface (LAN-WAN).
The SPA112 converts voice communication into data packets for transmission via your IP network. Thanks to the international standards for voice- and data networks, the SPA112 ensures reliable operation.
There are specific network requirements, to ensure smooth communication with the telephone system. For more information on network requirements/configuration, please refer to the “Plug & Play leaflet”.
Many multifunction devices and modern fax devices are capable of various settings for specific transmission standards that might disturb the adapter. As a result a one-hundred-percent functionality cannot be guaranteed.
In case you should use Brother fax devices, we would recommend using the Patton Smartnode SN4112.
Trying to send a fax, the device will give an error message which varies depending on the device model and producer.
Furthermore, deactivate the following settings:
Note that a fax number dialed needs an prefix number (e.g. 9 for UK).
Deactivate V.34
Set the maximum bit rate to 9600 bps (alternatively marked as 9.6k)
Deactivate the function "Use on extension.
Decativate automatic telephone ringtone
Deactivate automatic prefix number
Enable port range 4000-4999 in your firewall
Check in the manual of your fax device, if the above mentioned settings are applicable for your fax and how to configure the settings. In case of doubt, ask the producer directly. Many manufacturers provide the configuration details on their website in the FAQ or Troubleshooting section. Pay attention to any note concerning sending faxes via VoIP.
It is fundamentally necessary to set the maximum bitrate to 9600 in the administration portal!
Cisco SPA112 initial operation
When ordering the Cisco SPA112 from your provider, the device is automatically registered to the telephone system. Therefore, please check whether or not the MAC address is already registered on your administration portal (portal.nfon.net) under ELEMENTS / Devices first. If not, please add a new device and select Cisco SPA112 from the list.
- After adding the device, add a new phone extension for the Cisco ATA under Targets.
- Select the MAC address for the ATA under Phone Device.
- Connect the analogue end device to the ATA (RJ-11). It is important to use the PHONE 1 port.
)
Set up a second port
If you want to operate a second port, configure the second port in the administration portal. It is necessary to have an ATA already set up as a device in the administration portal.
- Click on Devices in the Elements menu.
- Click on Add new Device.
- Click on Cisco and select SPA112-Port.
⇒The entry mask opens.
- Enter the MAC address of your Cisco SPA112 under Base.
- Choose the respective port on the right side. Please note that the numbering of ports in the administration portal starts with port1.
- Write down the port number to connect the port in a second step with your extension.
- Click on Save.
⇒The Cisco SPA112 is now set up as a device in the administration portal. The port is configured.
You have two options to connect the port with an extensions in the administration portal:
Set up a new extension and enter the data of the Cisco112.
Alternatively connect the Cisco112 to an existing extension.
)
Find details to set up a new extension in the administration portal here.
Please make sure you connect your desktop telephone to the right port. You have assigned a port to your extension via the administration portal. Therefore, the phone number of your extension is assigned to the port.
Getting the Cisco SPA112 ready for usage
The Cisco SPA112 is ready for use once the status LEDs Power, INTERNET and PHONE 1 remain lit. The INTERNET LED may not stay lit but only flash sporadically. This depends on the data traffic for your Internet connection.
- Connect the 5V power supply to the ATA.
The SPA112 only supports block dialling. That is, after entering the full telephone number and confirming the selector key, a connection is established. The telephone number is then transmitted in one block.
